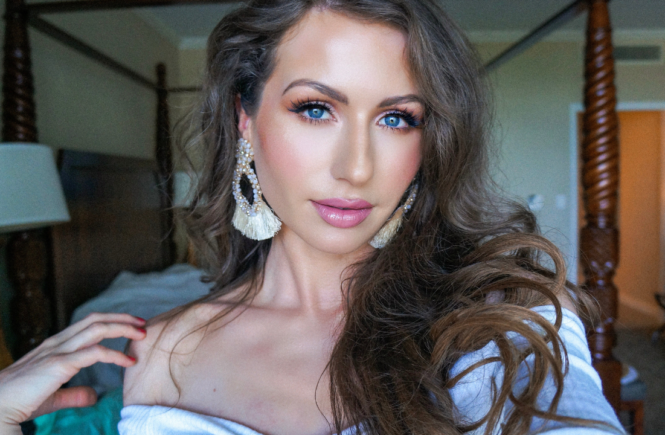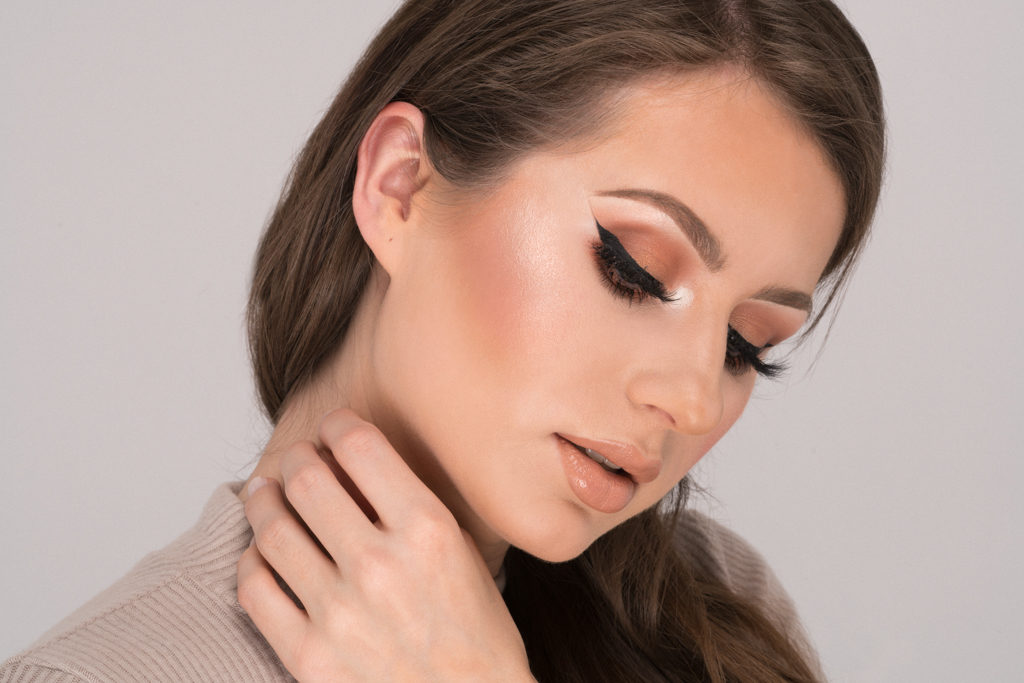
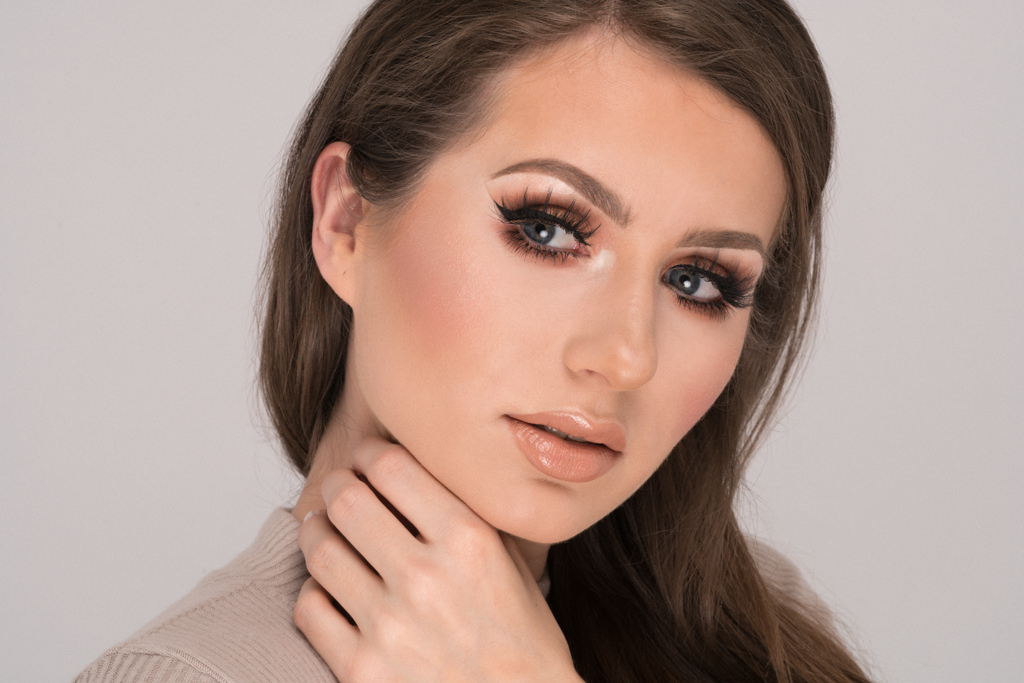
Bronze eye makeup is probably the safest choice of eye makeup for at least two reasons: it works on any eye color and it looks great for any occasion. Just like with a little black dress, you can’t go wrong when wearing a bronze eye look and today I will show you how to do it.
For my bronze eye shadows I used Colour Pop Cosmetics new pressed powder shadows. This was the first time I tried them and I was pretty impressed. They come as single pans in a sleeve for $5 each so you can customize your own palette. They are super soft, highly pigmented and buildable. The bronzy colors that I chose to build my palette are Bel Air, Note To Self and Top Notch and I added one metallic gold shade in color Save It For Later for a special pop of color.
Step 1
After you prepped your eyes, take a fluffy blending brush and use a light matte bronze color (I used Colour Pop’s Bel Air shade) and blend it all over the crease and right above it.
Step 2
Now use a smaller blending brush and apply a darker bronze color (Top Notch in my case), blending it right in the crease. Intensify the color in the outer corner of your eyes.
Step 3
Add a metallic gold shadow across the lid to soften the look and add dimension. Go back with the blending brush to create a nice transition.
Step 4
I always like to apply a winged eye liner with this look but if a winged eyeliner is not your thing, simply use a dark bronze eyeshadow or black pencil liner to trace your upper lashline and inner rim for added definition and make your natural lashes appear denser.
Step 5
Highlight the inner corner of your eye to make them appear bigger and create contrast. I always use MAC Frost Eyeshadow in color “Phloof” for this step.
Step 6
To finish off the look, apply 2 coats of mascara. My favorite is Loreal Voluminous Mascara in color Carbon Black. This step is optional but you can also apply false lashes for more drama. I used Lilly Lashes in style Miami.
Below you can watch my quick video tutorial on how I achieved this look. Thanks so much for stopping by and reading!
Xoxo,
Kat
Products Used: