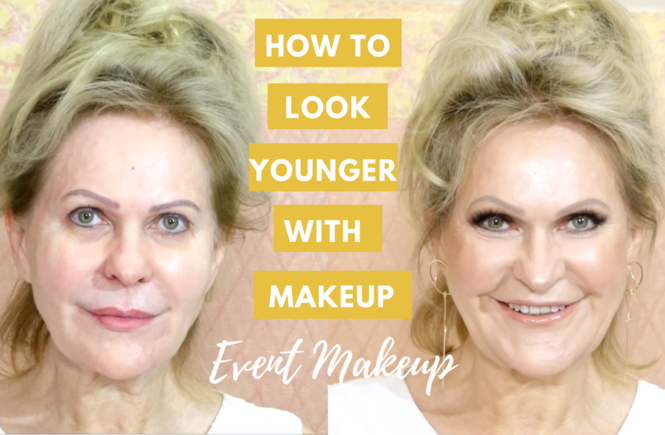
False lashes have the power to change the way your makeup looks and make your eyes look dramatically different depending on your goal. Just have a look at my picture above to see how much of a difference strip lashes can make: my eyes are instantly bigger, they pop and my eye makeup looks more polished. If you want to learn how to apply strip lashes on yourself, keep on reading!
As a makeup artist, I always use some sort of lashes in every makeup that I do for a client and if you follow me on Instagram or on Facebook, you already know that I always wear them with my own makeup looks.
There are many types of false strip lashes on the market so no wonder that you might feel confused and overwhelmed. The choice of which false lashes you want to use basically comes down to what kind of look you want to achieve: natural or more dramatic. Not everyone feels comfortable with high-impact lashes so I first recommend to try a lighter and more natural option. The top natural lashes that I use all the time and basically anyone with all eye shapes can pull off are Demi Wispies Lashes Ardell. They are very comfortable and they really enhance your own lashes. The glue that I use is Duo Eyelash Adhesive in dark tone by Ardell as well. I like the dark tone one because it turns black after it dries so it blends really well with your natural lash line. Because it changes the color, it also helps determine the right time to place the lashes on. This lash applicator by Tarte is very useful as it helps with the placement if you’re not experienced. I like to apply a light layer of mascara before applying false lashes and then I sometimes apply another one after the glue completely dries out to blend lashes together.
Steps on how to apply false strip lashes:
- Lashes are like shoes – so the first step is to fit them to match your exact lash line. This means you need to measure the lash line and compare it with the length of the false lash; if it’s too long you need to cut it. Never trim the false lash after you have applied it as you can cut your own lashes (no one wants that).
- If your false strip lashes are heavy and have a strong base, you want to bend them in and out a little so as the strip becomes more flexible – this will make the lashes far more comfortable to wear.
- After you measured your false lash, apply a thin layer (I use the bottom of a small makeup brush) to the entire strip. Trust me, you really need a thin layer so don’t overuse glue as it will not dry properly and it can make it almost impossible for the falsies to stick correctly.
- Wait at least 30 seconds for the glue to get tacky. This is a VERY important step – once you see the glue going from light gray to dark, it’s the right time to apply the lashes.
- Look downwards and using the lash applicator, gently place the strip lash in the middle of your eye as closely to your natural lash line as possible. If you haven’t placed the lashes in the exact spot that you wanted, don’t panic. You still have time to slightly reposition them.
- Secure outer and inner corners. Put extra pressure with your fingers at the corners and hold for a few seconds to make sure the lashes won’t come off at the edges.
What’s great about strip lashes is that you can reuse them a bunch of times if you’re using them for your eyes only. Just be sure to delicately remove the glue from the strip and spray them with alcohol to clean and disinfect.
You can watch the video below on how I do it. I hope this blog post is helpful and if you have any questions, write them in the comments below. Remember as with everything, you need some practice so don’t get discouraged if the lashes are not applied correctly for the first time.
Xoxo,
Kat
PRODUCTS & TOOLS NEEDED:
VIDEO TUTORIAL: