Highlight and contour – I’m sure you heard this phrase a number of times (pictures of celebrities like Kim Kardashian having their faces contoured are all over the Internet) and some of you are probably wondering what the big buzz is all about. Well, its fame is well justified in the makeup world and today I want to show you why.
Makeup can really do wonders and when applied correctly, contouring and highlighting can recede (and hide) or bring forward the features of your face and create extra definition. It’s like a non-surgical face sculpting – a nose can be narrowed, a brow can be lifted, the forehead can be shortened, the cheeks can be carved out 😉 So if you want to learn how to do it, keep on reading!
The rule is simple: dark colors shade and make areas recede (like hollows of the cheek, temples, sides of the nose, under the chin) while light colors highlight and make things come forward (like the center of the forehead, down the bridge of the nose, underneath the brow bone).

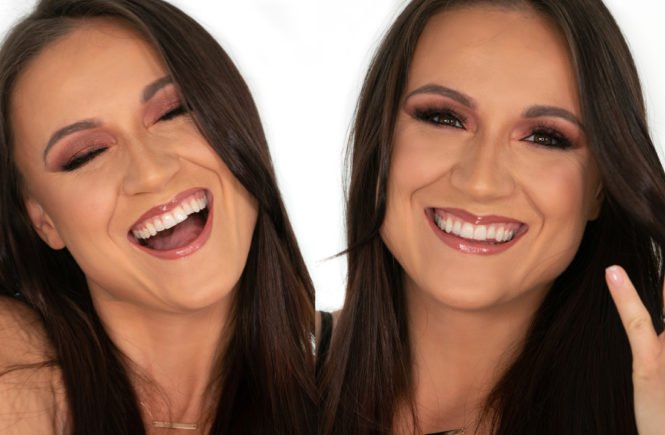
The photo on the left is an illustration of the areas I usually contour. My application might seem exaggerated but it really shows how highlighting and contouring can add dimension to the face and sculpt it. You can use this photo as a benchmark to understand your own bone structure and make the most of it. The photo on the right is the final outcome of what my face looks like after I finish the look. You see – it’s not that dramatic after all 😉
How to do it:
Before contouring, it’s important to have your foundation already on your face. You can contour with either powder or cream. It’s simply a matter of preference so I encourage you to try both if you can and see what’s easier for you. I typically contour with cream when I go out and want that extra definition and use powder for everyday quick contour like on the hollows on my cheeks. In any case, the key is blending. So you will need to use a beauty blender and a brush a lot!
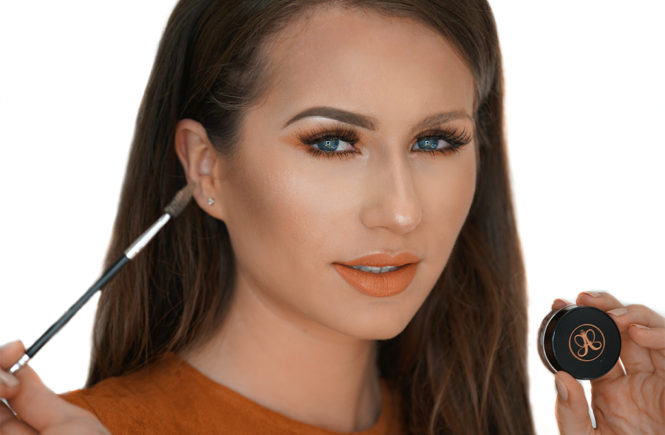
I have recently tried Anastasia Beverly contour sticks and I’m obsessed! They are highly-pigmented and buildable cream sticks with a natural matte finish. They are also super easy to blend. I use color Banana for highlight and Fawn for contour. On most areas of the place, I apply the sticks directly to my face but I use Dose Of Colors’ Shader Brush to contour the nose. Before applying the highlight color, I like to first apply my number one go to concealer from It Cosmetics. When contouring my cheekbones, I always do the so called “fish face” when I suck my cheeks behind my teeth. This really helps to carve out the cheeks.
When blending a cream, concentrate on keeping the product in the area where it was applied but blend enough to eliminate any obvious lines. Set it well with your powder. As you know from my Everyday Makeup post, my favorite powder is the Laura Mercier’s Translucent Powder.
When using a powder contour kit, be sure to apply the setting powder before you contour to ensure smooth blending. If you don’t apply a setting powder before, the application won’t be even and you run a risk of having a blotchy appearance. My favorite powder contour kits by far are from Smashbox Cosmetics in color light/medium (it comes with an angled contour brush) and Anastasia Beverly Hills in color light to medium as well. You can’t go wrong with any of them! With powder, you will need a contour brush and my favorite is MAC 168 angled contour brush. Be sure to start with a light application (you can always add but it’s hard to take away once it’s too much) and use back and forth motions to blend with the brush. And remember, fish face really helps 😉
When you approach your face, allow yourself some time to explore, analyze and experiment with it to find what works for you. Understanding the curves, shapes and planes of your face will help you create your desired look, emphasizing the areas you want to show while hiding those you don’t want anyone to pay attention to.
I hope you enjoyed reading this tutorial and learned a thing or two from it. If you have any questions, leave them below in the comments section and I will try to answer them ASAP! I linked key products I use below for your convenience.
Xoxo,
Kat